SOP: How to add new user access to UPS Billing Center
Objective: Create a New User account on UPS carrier site if the Administrator only wishes to grant you a “View only” access for your UPS Billing Center.
First, set up a new UPS user account that you’d want to be granted access. Go to UPS login site https://www.ups.com/lasso/login
Click the “Create a UPS Username” button at the bottom of the page.
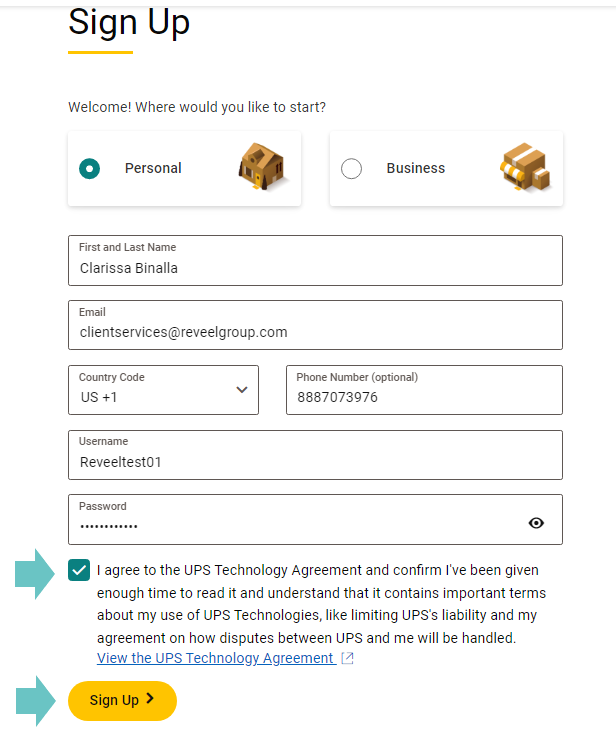
You will be routed to a Sign-Up page. Fill out the required fields and put a check mark on the terms and conditions as you “Agree to the UPS Technology Agreement”. Then, click on “Sign Up” button to submit your application.
Use the verification code that you will be receiving in your email
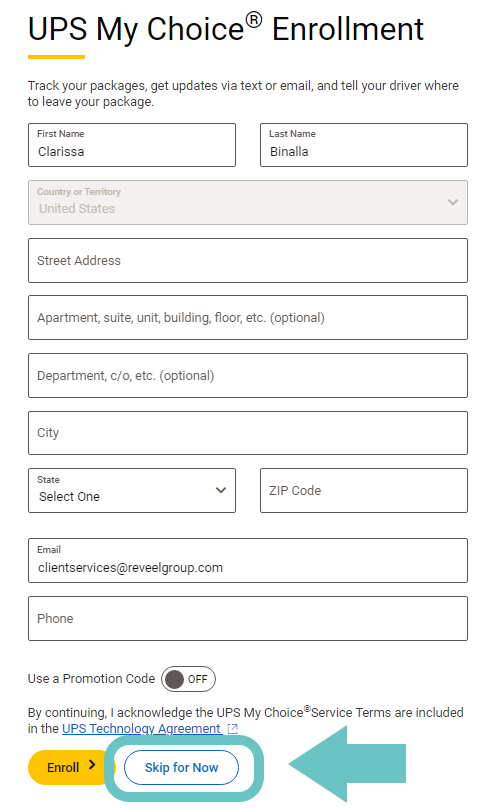
Then, you'll be directed to UPS My Choice Enrollment page. You may want to populate the required fields or just simply click on “Skip for Now” at the bottom to skip this process and proceed.
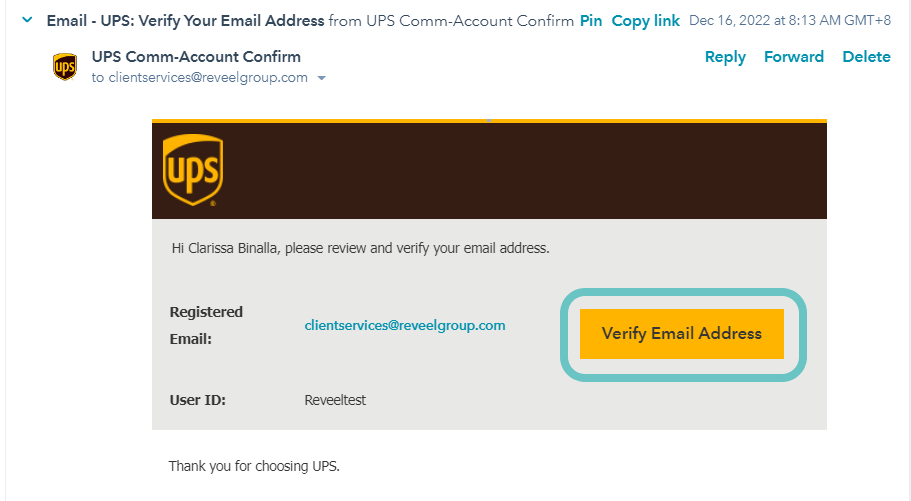
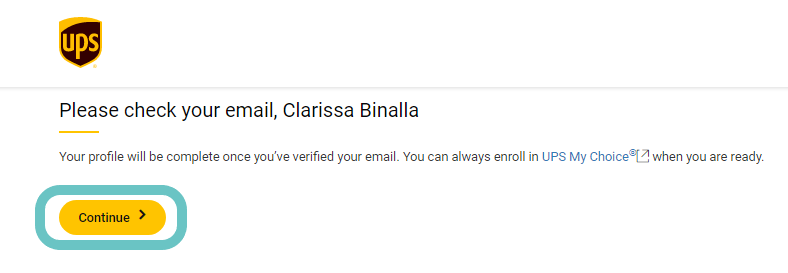
An email will be sent to the email address you input prior. Check your inbox for that specific email with Subject: UPS: Verify Your Email Address, then click on “Verify Email Address”. Then from the previous browser, click “Continue”.
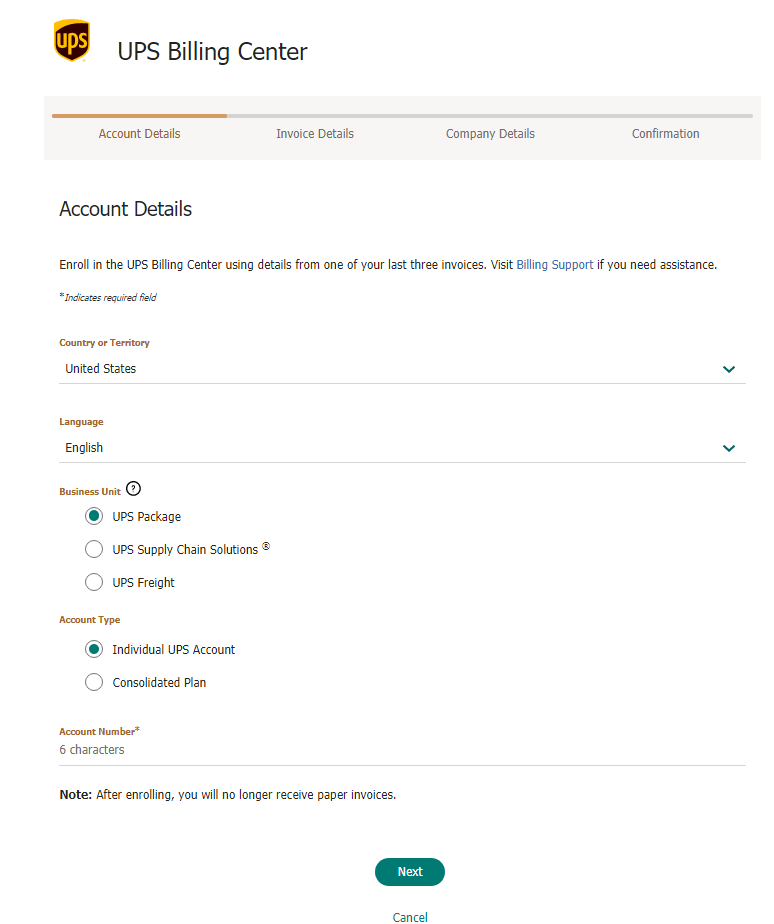
The carrier site will then direct you to an Account Enrollment page. Populate the required fields to complete this enrollment process.
Once the new user account is finally set up. Login the Admin user for your UPS Billing center account. If you have no access to the Admin account, ask the Admin to grant you access for this new user login.
To add New User access, once the Admin has logged in on the UPS Billing Center dashboard/portal, go to the Administration tab on the left-hand corner. Click on “Manage Users” from the dropdown options, then click “Add New User” on the right-hand side of the page.
A pop-up box will appear. Enter the User ID and Email, choose the User role/s with provided description. It's recommended to ask they give us theView, Pay, and Disputerole so we can dispute their audits and successfully obtain credits for them. Once all done, click on “Next” to proceed.
Continue with the Account Access and Confirmation process until you reach the final step of adding a new user access.